Your brushes are the backbone of your beauty kit. After all, you have brushes to thank for flawless foundation application that has you looking more and more like Beyoncé everyday. So, let’s talk keeping these sacred tools clean. Think of brush cleaning as an essential part of your beauty routine. “Buildup of dirt and oils on your makeup brushes can cause acne breakouts and possibly rashes called dermatitis,” warns Cristina Monaco, Certified Physician Assistant of Schweiger Dermatology Group in New York.
We talked to Monaco and makeup artist Ashleigh B. Ciucci to find out all the best tips and tricks for removing residual makeup, dirt, and oils from your precious tools.
You should be cleaning your brushes weekly
Remember the gross residual makeup, dirt, and oil we just talked about? That disappears after a good brush cleaning. If you’re a makeup artist or just someone who wears a significant amount of makeup regularly, Monaco suggests brush cleaning after each use.
For face brushes like foundation, concealer, or powder, you should be cleaning them once a week," says Ciucci."For eye brushes or brushes that you’re using for different shades, clean in between uses."
But you should be washing your brushes monthly
"So there’s CLEANING your brushes and there’s WASHING your brushes," explains Cuicci. The cleaning should be done weekly, as mentioned above, and washing should be done once a month with a gentle soap.
A step-by-step brush cleaning method
Ciucci's step-by-step routine for cleaning your brushes is as follows:
- Squeeze a dollop of gentle shampoo into a glass/mug and fill with warm water
- Swirl your brushes in the water and gently massage the bristles to further remove the gunk
- Rinse with clean water and carefully squeeze the water out
- Lay flat to dry
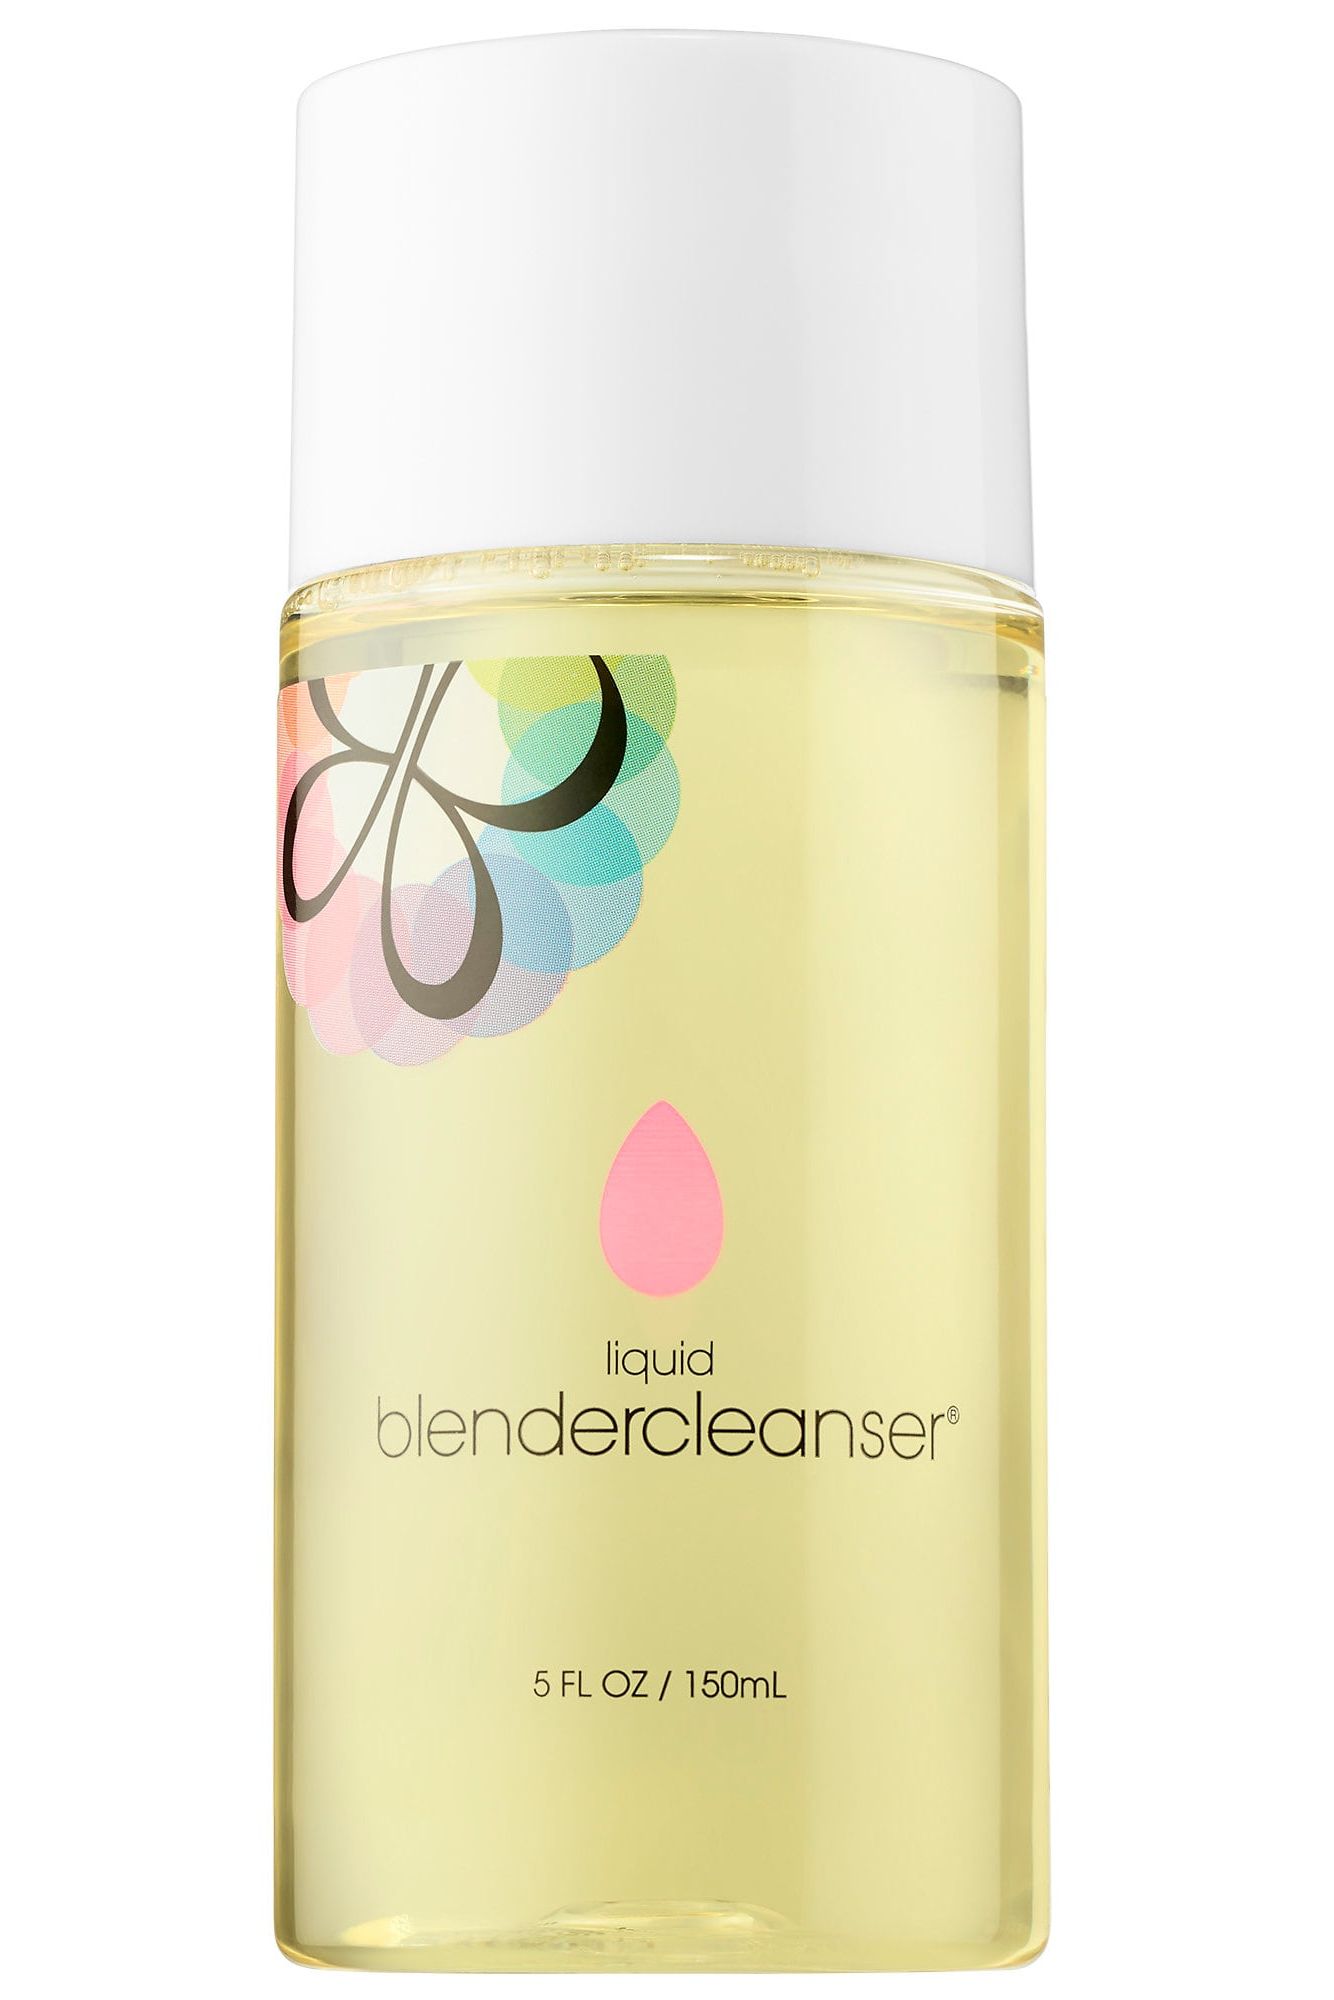
- For day-to-day cleaning, use a brush cleaner like Cinema Secrets, Cuicci's favorite brush cleanser. For intense washing, go for Beauty Blender Cleanser.
- Pour a small amount of the blue liquid into a small cup and dip your brush to saturate
- Gingerly swirl the brush on a paper towel which will absorb the cleanser, taking the dirt with it.
Dishwashing soap is your friend
The most potent cleanser for your brushes is one that you might have around anyway—Monaco swears by Dawn dishwashing soap. “It literally removes everything and anything!” says Monaco. “In a makeup cleaner emergency I will fill a small cup with warm water and add a few drops of Dawn. Swish it around and voila!” It’s not that crazy considering dish soaps are engineered to remove tough oils and grease—the exact byproduct you’re hoping to take out when you clean your brushes.
Dawn also works for makeup sponges. “Let it sit in the glass submerged for a few minutes,” explains Dawn. “Then rinse with warm water, dab on a paper towel, and repeat. Lastly, place it in the microwave for a few seconds (while watching, of course) to get rid of bacteria.”
Look for signs it's time to replace your brushes
As soon as you notice your brushes aren’t getting as squeaky clean as they once were, it might be time to replace them. “As a general rule, every three months you should be buying a few new brushes to replace the old ones,” says Monaco.
It’s also important to check for shedding. “As long as your brushes aren’t shedding, smell, or are severely discolored they can last a lifetime,” explains Ciucci. “ I have a MAC brush from 1994!”
In regards to fluffier brushes you use for powder, you'll be able to notice they are ready for a cleaning based on the product build-up in the bristles or at the base where the brushes meet the metal (also known as the ferrule). "For synthetic brushes or brushes you use for creams or liquids, you’ll notice the shape of the brush getting a little wonky, the bristles will start to clump together," explains Ciucci.
Bonus: Here's how to clean your beauty blenders and makeup sponges
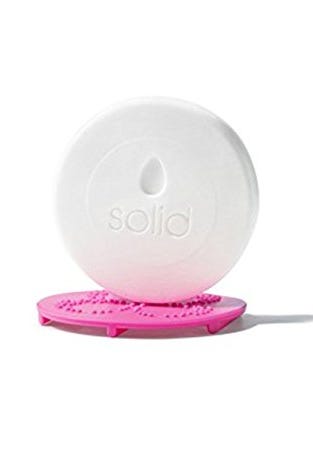
Monaco recommends BeautyBlender’s Beautycleanser soap bar for properly cleaning your beauty blenders and makeup sponges. “BeautyBlenders tend to get dirty VERY fast,” Monaco cautions. Another great option is electronic brush cleaners. The electric brush cleaner does the work for you. Here’s two electric brush cleaning favorites.
And a few things before you go...
- Choose paper towels that aren't lint-prone so they won't leave your brushes looking dusty.
- Don't over cleanse your brushes. Sometimes super clean brushes don't pick up product as well and a little grit on the brush is ok as long as you don't go overboard in avoiding cleaning.


Comments
Post a Comment